

Ticket forms let customers submit support tickets directly without sending an email. While building a form, you can use any ticket field, including custom fields you've created. This way, you can capture the exact information you need to resolve issues faster.
Creating ticket forms
Go to Admin Panel.
Click on Ticket forms.
Click on the Add new ticket form.
Enter the form title and description.
Form Link: This becomes the last part of the form's web address. It is filled in from the title, and you can change it.
Active: Choose if your form should be available to customers right away. You can change this later.
Click on Save changes.
The form's web address
Every ticket form has its own web address, which looks like https://yourworkspace.neetodesk.com/forms/contact-support. The last part comes from the Form Link field on the form. The /forms part is fixed and cannot be changed or removed.
The Ticket forms page lists each form's link in the Form Link column, with a button to copy it.
To change the last part of the address:
Go to Admin Panel > Ticket forms.
Open the menu next to the form and click on Edit.
Change the Form Link field.
Click on Save changes.
Opening https://yourworkspace.neetodesk.com/forms with nothing after it opens the first active form you created.
If you have set up a custom domain, the form is available on that domain too, for example https://help.example.com/forms/contact-support.
Hide a form from customers
There are several reasons you might need to hide a form, for example, you no longer want submissions, or you want to replace it with a new form that has different fields.
To hide the form, turn off the Active toggle. Customers can no longer fill in or submit it. The address still opens a page showing the form's title with no questions on it, so remove the link from anywhere you have shared it.
Add new questions to ticket forms
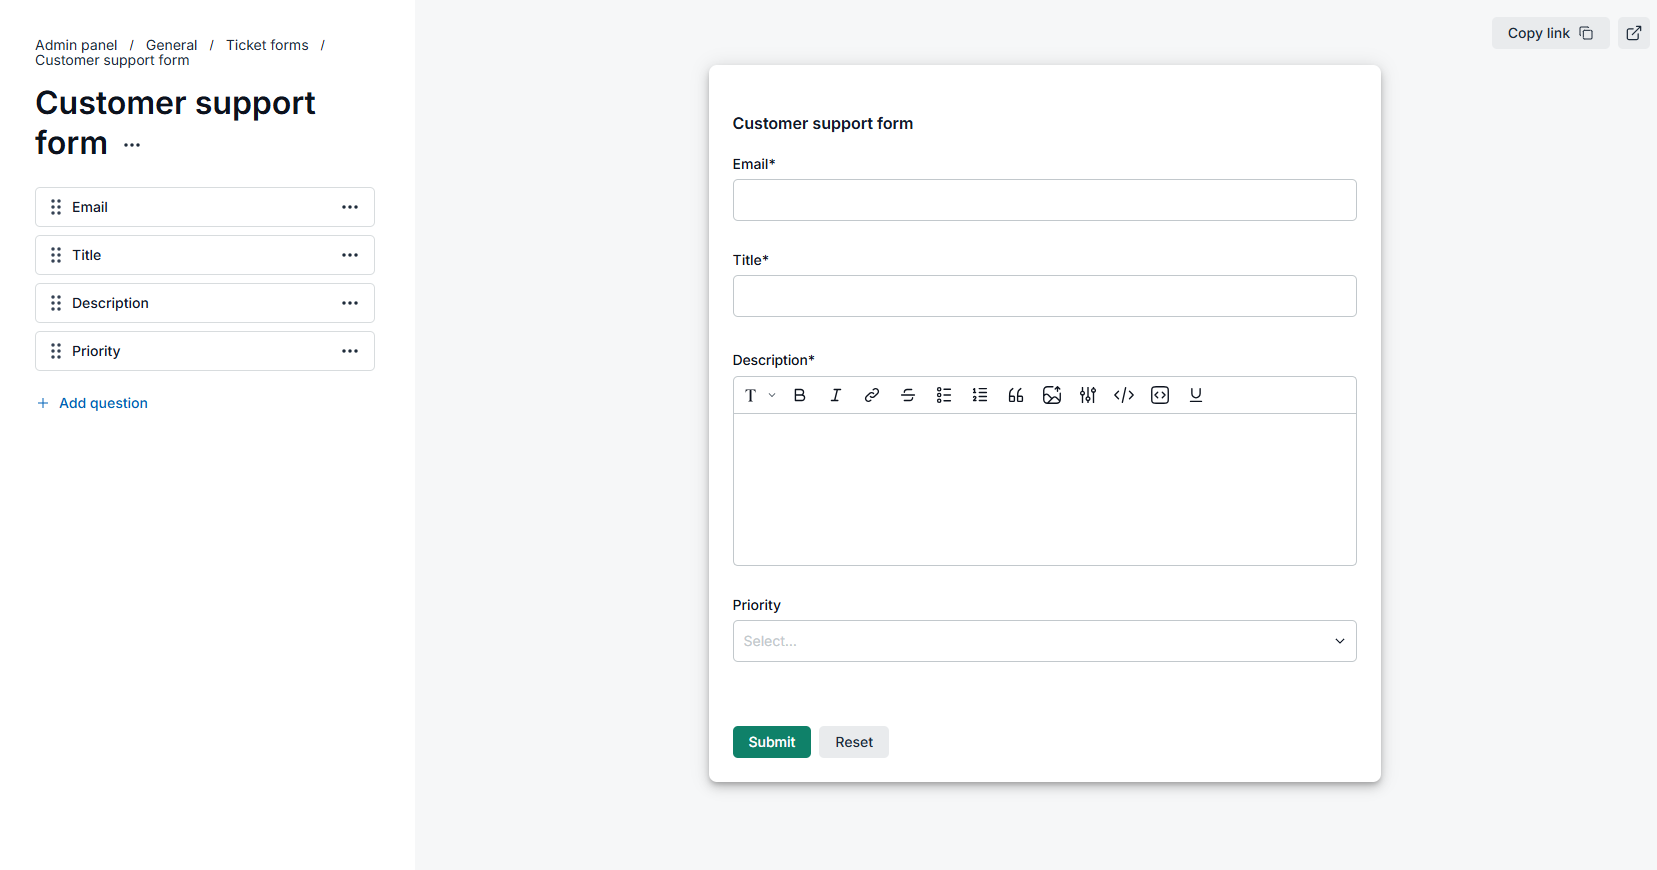
You can add ticket fields as questions in your ticket forms. Since form submissions generate tickets, the email, title, and description fields are mandatory. Beyond these three, you can add any custom field you want to associate with tickets created through the form.
Add custom ticket fields to ticket forms
When you want to capture additional details, you can add custom ticket fields to the form so customers can provide that information at the time of submission.
Create a custom ticket field if it's not already created.
Go to the ticket form details.
Click on Add new question button.
Select the field that you want to add.
Click on Save changes.
Sharing the form
Besides copying the address, you can create a QR code, post the form to social media, embed it on your website, or build a link that opens the form with some answers already filled in. See Sharing and embedding a ticket form.
Adding the forms menu to KB
NeetoKB supports ticket forms, so you can add form links directly to your KB menu.
Go to NeetoKB.
Go to Admin Panel.
Click on Headers and Footers.
Add a new header/footer link.
Choose Action for type.
Select Submit a ticket form.